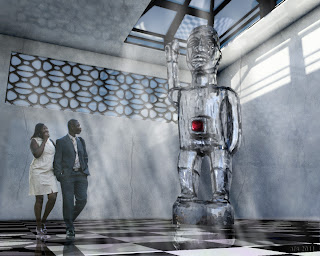
This post is a follow-up to our classroom demonstration on render layers and photoshop compositing. The above image represents the finished image. The model was 3d scanned into the computer and as an added bonus the texture files generated during the scanning process were mapped to the object. In the future I will pay a little more attention to this aspecvt of the scanning process. In the illustrations below I will provide an overview of how the image was generated.
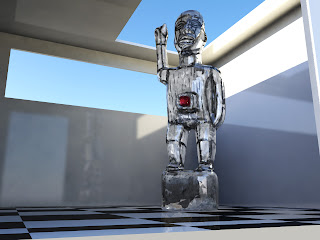 This is the beauty image that was created in maya using mia_material_x along with global illumination, ambient occlusion and final gather.
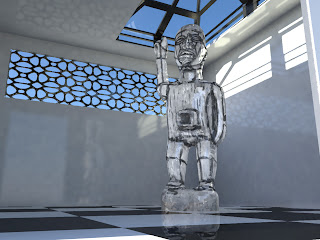 The sky lights an window grillage were added to create shadows within the interior scene.
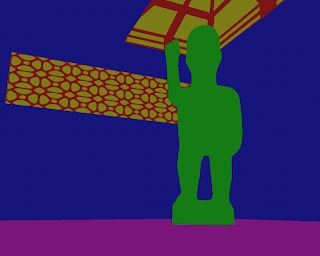
A mask layer was created to isolate all of the elements within the composition.
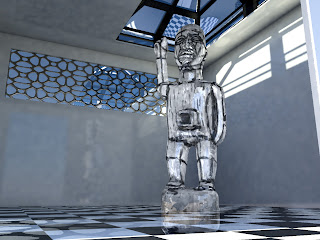 The directional lighting was adjusted on the window to cast longer shadows of the window grillage.
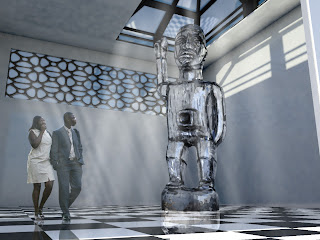 I made the decision to reduce the reflectivity of the wall elements so that it would read as concrete or stucco on the interior. Volumetric lighting effects were added in photoshop tp accentuate the fenestration of light from the exterior.
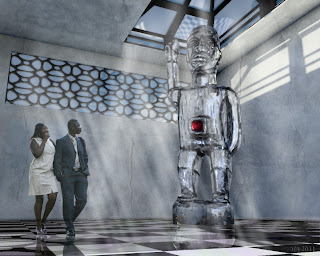
In the final image custom photoshop brushes were created to reproduce the concrete wall texture and cracks. Shadow masks were created to isolate the shadows in maya.

No comments:
Post a Comment