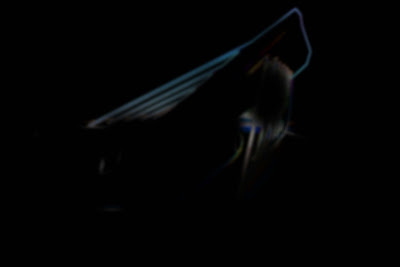


 I took this maya render from midterm and applied the photoshop quick tips that Alex Hogrefe gives tutorials for; Vignette edges, Softened Image. I also was looking at the wowfactor tips by Andrew Price and applied some like, lens flares and chromatic aberration. There wasn't a tutorial online for how to add a chromatic aberration in photoshop, only ways to get rid of them, so I made a technique myself.
The second image is the result that I had as a layer over the other final image. The black is just a background added for contrast.
The first image is the base render with only the chromatic aberration added
Chromatic abberation technique:
1.) Apply the stylize-glowing edges filter.
2.) Bump up the edge width and smoothness
3.) Magic wand select the black and dark colors and delete. (select similar to get all darks)
4.) Apply a moderate gaussian blur filter
5.) Increase Vibrancy (not saturation)
6.) With a soft-edged, low-opacity large brush erase out the areas that you dont need.
tip: the effect looks the most realistic when you apply it to one side of the image.

No comments:
Post a Comment